
I have two projects to share. This was the first one I created. I was inspired for this creation when, after Christine announced what her choice was. Now I'll admit, I was not happy with her when she told us her choice -- even promised severe payback with my choice for next month (bwaa ha ha *note* my evil laugh). I found my groove and "dug right it".

Supplies:
Broken ends of plastic spoons (flower petals)
Cardstock: The Paper Company (kraft)
Pattern Paper: Crate Paper (Emma's Shoppe, Random, Seasons, & Peppermint Collections)
Tools: Cuttlebug
Dies: Provo Craft (maple leaf cut and emboss combo), Die-namics: rolled mum die,
Spellbinders: Lacey Squares
Stamps: Studio g (thanks so much)
Ink: Tsukineko VersaMagic Chalk Ink (red magic and hint of pesto),
Copic Markers (Y06, Y08, Y17)
Bling: pearl from a random string of pearls
Hot Glue Gun
I cut off the ends of my spoons, colored with my copics to highlight the center of the flower, then hot glued them together to form a flower. I placed the rolled mum in the center to hide the broken bases and topped that off with a little pearl. For my leaves, I used the maple leaf cut and emboss combo die but I cut it up to only use one of the three points.
The second card I have up here I got a little crazy--no surprise there! This one might be considered dangerous because even though it's plastic, but the fun I had creating this card is PRICELESS!! So much fun, that it is my new favorite all time project EVER, and I doubt I will surpass this (though I will try). On this one, I used some clear pastic knives--take a look:

Supplies:
Cardstock: The Paper Company (kraft and white)
Pattern Paper: Little Yellow Bicycle "Hello Fall"
Ink: Studio g (light blue chalking ink),
Copic Markers (R35, YR04, Y17, G05, B29,V09)
Dies: Spellbinders (Lacey Circles)
Punches: EK Sucess- Cupcake punch (clouds)
Cuttlebug (D'vine Swirls Embossing Folder)
Brown Letter Stickers (unknown from a swap)
Clear Plastic Knives
Wire Cutters (cut off plastic knives)
Metal File (file sharp points of knives down)
Hot Glue Gun
I stared and stared at a box of clear plastic knives for at least two hours. I even joked with the ladies on the design team (while chatting on facebook) that the only thing I could think to do with them was throw them across my office at the sytrofoam wreaths hanging from my office doorknob. And no joke, I did take a few stabs at that due to mental block. But the more and more I stared at them I saw the arch shape and thought of a rainbow.

Coloring the spoons with my Copics worked so well with the spoons, I decided to give it another go with the clear plastic to get more of a stained glass/transparent look. I colored each one of the serated ends first on the front side. Now, here's the trick! When coloring on plastic, you have to be careful not to do too many layers. It becomes streaky (you can kind of see it on the green), but it did trigger me to go back and color the other side to enhance the color (doing both front and back) which worked great for the blue and violet leaving no streaks at all! Finally, I hot glued them down to my card and staggered the embossed clouds inbetween to get that 3-D effect.
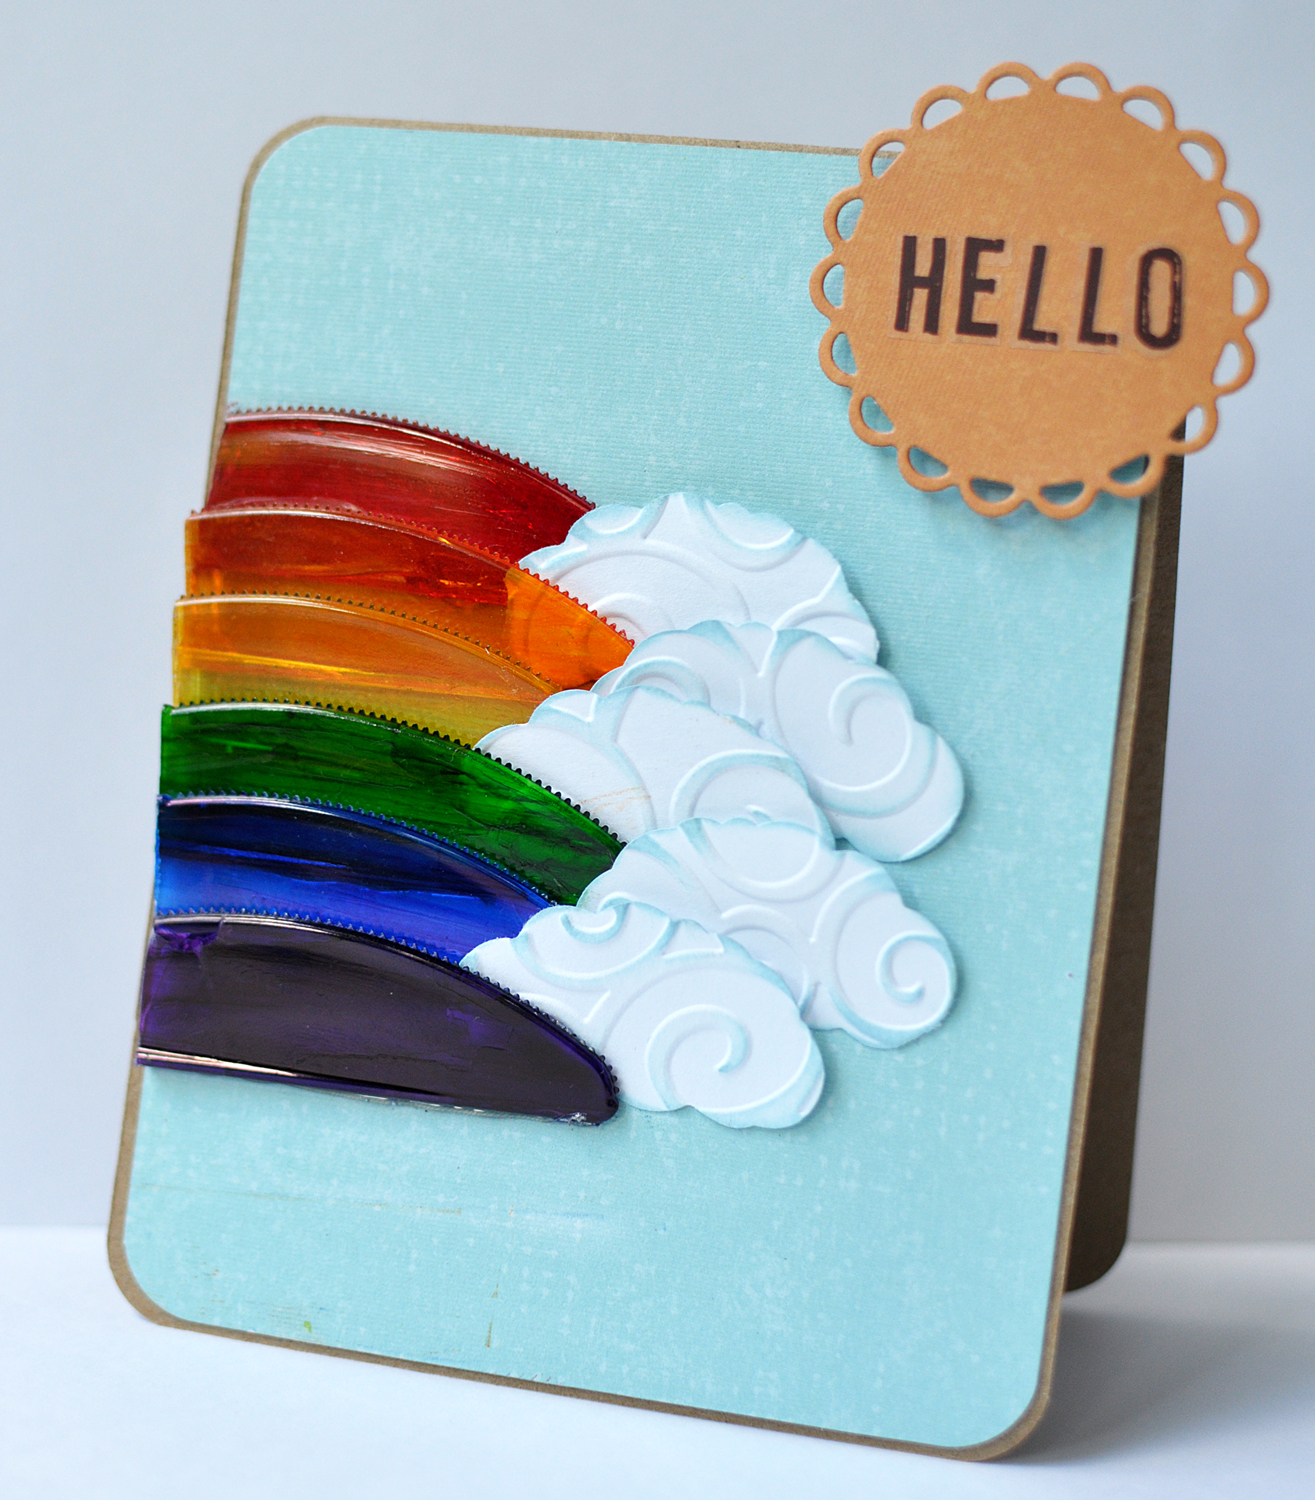
Hope you enjoyed my silverware inspiration today! You can head over to Practical Scrappers to see the rest of the gals' inspiration!
1 comment:
I just came from the PS post and I'm tellin' ya ... you REALLY outdid yourself this time!!! How DO you come up this stuff? Thanks so much for all the fun and inspiration!
Post a Comment